Alejandra Taveras
DEADLINE TO APPLY: Thursday May 2nd , 2024
The 5 Stages of the Design Process

The 5 Stages of the Design Process
The fashion design classes at Istituto Marangoni Miami are designed to teach students all steps, aspects, and techniques while providing them with the necessary tools to succeed in the fashion industry. Even with as much passion as possible, students wanting to enter the creative field must know the ins and outs of the industry before making their own rules. In the sense of design, the process is intricate to ensure that products are made correctly and meet the standards that customers expect. While people may think that fashion is just innovation and creativity, it also requires logistics and technicalities so that the designed item is deemed usable and relevant. The short form of the design thought process can be categorized into: empathizing, defining, ideaing, prototyping, and testing. While this summarizes the process, it doesn’t capture the whole idea plus the vital details that occur within each step. The following are the five stages that make up the creative design process and a breakdown of each:
1. Research & Inspiration Gathering
Establish a framework, by doing so this organizes the process and ensures that the desired outcome is achieved. Before collecting pieces that could serve to influence your own project, the research has to be completed to know exactly what the objective is or what problem you’re trying to solve.
Inspiration can come from various sources, either other designs, different timeframes, geographical locations, or even a well-established institution. Some people find their inspiration from external sources such as online, on social media, or in magazines, while others find inspiration in the surrounding environment like in markets, museums, libraries, etc. Apps like Pinterest, Instagram, or even Etsy can motivate the creative mind based on other people’s creations and ideas. The outside world also tends to inspire people – traveling or spending some time on a walk or bike ride allows you to witness architecture, different cultures, experiences, public art installations, or even small concepts like car designs or people passing by. The purpose of exposing yourself to these outside stimulants is to expand your ‘visual library.’
2. Sketching & Concept Development
Once the project’s research and inspiration are laid out, then the sketching can begin. The research and influence allow you to have a clearer image of what your sketch will look like, or at least what it’ll start to look like. Sketches provide a visual component for the idea under consideration along with all of its aspects in order to better explain and present the concept to others.
Keeping your sketches as very rough and quick drafts maintains the efficient formulation of ideas rather than focusing on the aesthetics and the details which can be touched upon later once the foundation is established. It’s safe to say that sketching is not just meant for designers but also for anyone in a career field where something has to be built, created, or organized. Creating a visual for concepts allows others to collaborate with you as you’re fully expressing ideas, as well as brainstorming solutions as a team if applicable.
3. Material Selection & Prototype Creation
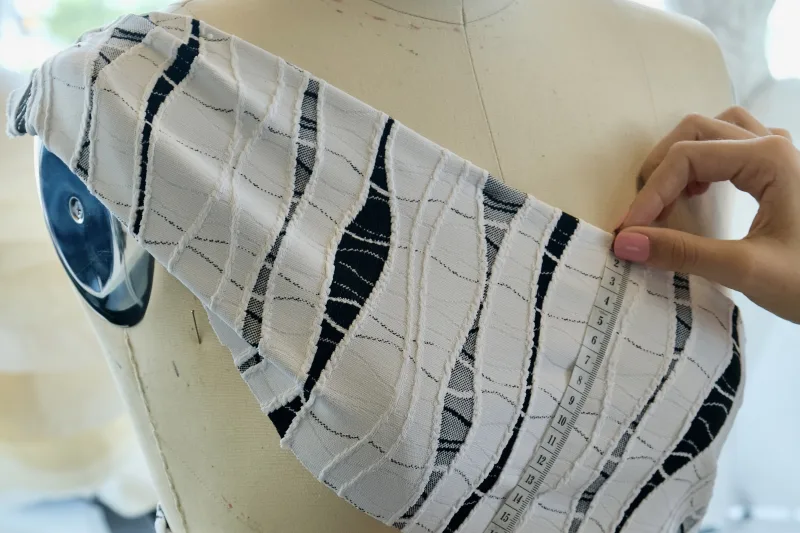
In selecting the right material for your prototype, the key things to consider are functionality, efficiency, and effectiveness. In the case of a garment design, the chosen material has to coordinate with the design itself and the plan you have for it. Will it be stiff or flowy? Are you looking for a rough texture or smooth? Selecting the correct textile for your design depends on how you want it to sit on the model and the kind of movement you want it to have. While prototyping a design may seem like an easy task, if experimenting with unconventional textiles ensuring that the design is functional is a vital step.
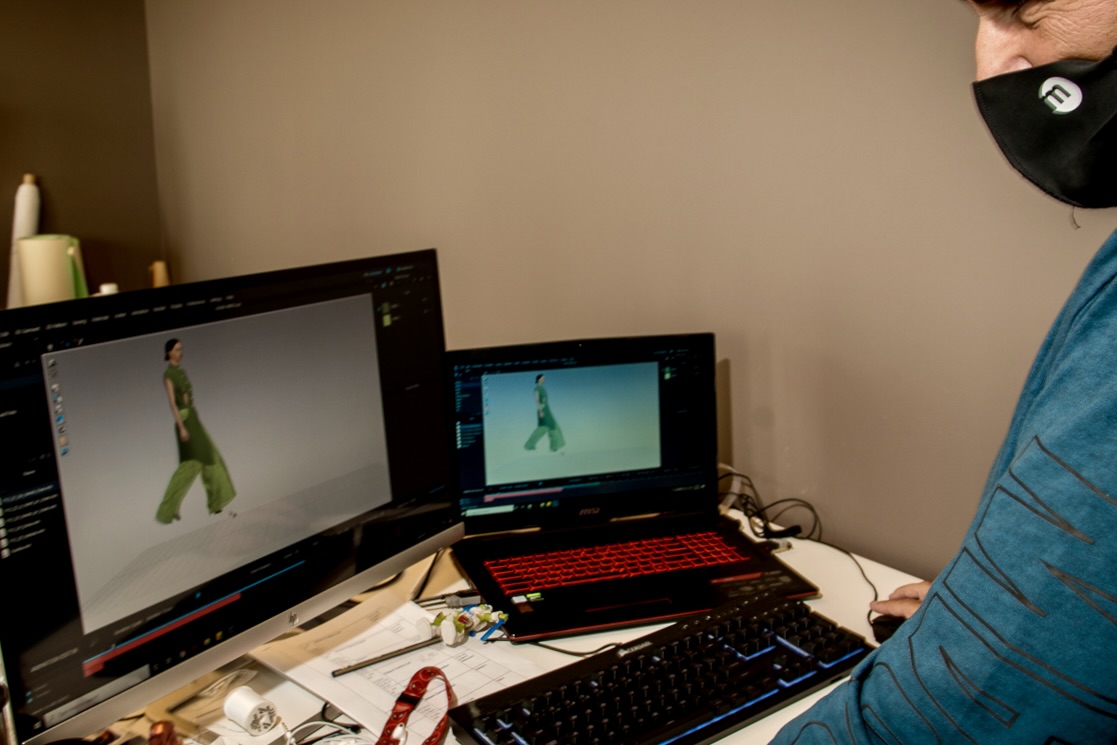
Other factors to consider when creating a design, choosing materials, and building a prototype are the cost based on the type of textile as well as the amount of material needed, durability of the material in the sense of avoiding badly-made or cheap textiles, functionality which should be one of the first aspects taken in account of the design, and lastly the method of manufacturing. Although just a prototype, you should keep in mind what is required for the manufacturing of the garment design. The use of an unorthodox textile or a design with more intricacy will most likely cost more to assemble versus a more traditional fabric. The method of manufacturing itself also affects the price point whether it’s constructed via 3D printing, handsewn, digital design, etc.
4. Sample Production & Testing
As part of the product testing process, there is rapid product testing and it’s shining through in the industry. Rapid product testing allows for testing at each step of the design process in order to save time and money – essentially the product is designed in stages rather than all-in-one. This method allows for changes in each step if needed to adjust to any issues that are discovered or respond to useful feedback to improve the product before it’s even released to the market. Product testing ensures the safety, quality, and performance of the design. In order to test though, the sample has to be planned and produced based not only on the design but the small aspects as well such as the buttons, zippers and any other embellishments. There are several tests conducted to ensure that the garment in question is up to standard such as:
- Breaking strength test: This test is multidirectional and is used on woven fabrics, expressed in pounds and elongation in percentage. Used to check the effects of sunlight, wear and tear, and laundering.
- Bursting strength test: Determines the amount of pressure required to rupture the fabric, used on non-woven textiles such as knits, lace, and felts, and is expressed in pounds. Tests fabric strength particularly for performance wear like uniforms and sportswear.
- Piling tests: This evaluation should consider the size, number, and visibility of the piling plus the type and degree of the surface change from the piling. Performed on knitted textiles to determine the end quality of the material and potential customer returns.
- Abrasion resistance: Tests for the resistance of the garment material when rubbed against another. Nylon which has a high breaking strength and abrasion resistance can be worn often before showing signs of wear while acetate doesn’t hold for very long due to its low abrasion resistance.
- Colorfast testing: Used to determine resistance to color change of dyed or printed fabrics under various conditions. Elements like exposure to sunlight, pollution, perspiration, crocking, washing, and dry cleaning could affect the way textiles colors are presented.
Tests for Leather Goods
- Tear strength test: Tests such as the Baumann method and the Lastometer are conducted on leather goods in order to measure the “fit for purpose” performance and safety-related aspects.
- Standard Test Method for Resistance of Coloured Leather to Bleeding: Determines if colors will bleed from the surface of the leather if it comes into contact with water. This is usually done on finished accessories like shoes and handbags.
- Lightfastness test: Important to measure to know if and to what extreme a product will discolor if exposed to daily sunlight which could affect customer satisfaction.
- Wet and dry rub fastness test: Detects if the color of the leather will rub off into other items in dry or wet conditions. Most important for handheld products or items held under the arm to avoid color transfer when rubbing against clothes.
5. Final Product Refinement & Production
Product refinement is used to describe the process of making improvements to an established product in order to make it better in its use, in its expectations, and for customer needs and experience. Depending on if the previously mentioned tests are completed as the product is being designed then the product refinement process may not be as extensive. These refinements could be implemented during the design process as well as after the finalized product is released to the public to ensure that the product remains relevant in the market. Improvements could be made in the form of new colors, differing features, additional accessories, various sizes, or even changes in materials or textures. The difference between refinements in the design stages and refinements made after launch is that during the design stage, alterations are made to meet the standard of the customer’s expectations and maintain a certain level of quality and craftsmanship. While adjustments made after the product is released is typically to stay relevant based on the market trends and customer feedback of the original design.


